Comprehensive benchmarking review of plasterboard fixings
You should keep in mind that dedicated solutions are required to mount any fixtures to plasterboard panels. What kind of solutions? Go through our comprehensive benchmarking review of plasterboard fixings to find out.
Plasterboard is composed of an inner gypsum layer and cardboard lining on the outside. This makes plasterboard panels lightweight and perfectly smooth on the surface. The limitation, however, is their mechanical strength. Hanging a painting or a mirror on a wall built of this material should not pose a major problem, which may not necessarily be the case when it comes to fixing a cupboard, a bookshelf, or a TV set. This is precisely when fixings and fasteners designed specifically for drywall applications should be used. Otherwise, the mounting piece may not be capable of withstanding the load applied, which can cause damage to both the wall and the fixture.
Types of plasterboard fixings
Plasterboard fixings can be divided into two types:
- Fixings which transfer loads locally across the entire panel thickness – they prove excellent for mounting pictures, mirrors, but also small shelves or wall decorations;
- Fixings anchored to the back of a plasterboard panel which distribute the load over a larger area – suitable for mounting larger and heavier items, such as a TV set, a curtain rail, or a radiator.
Zawartość artykułu
Light-duty plasterboard fixings
The first category, i.e. the solutions transferring loads locally, comprises fixings such as the following types.
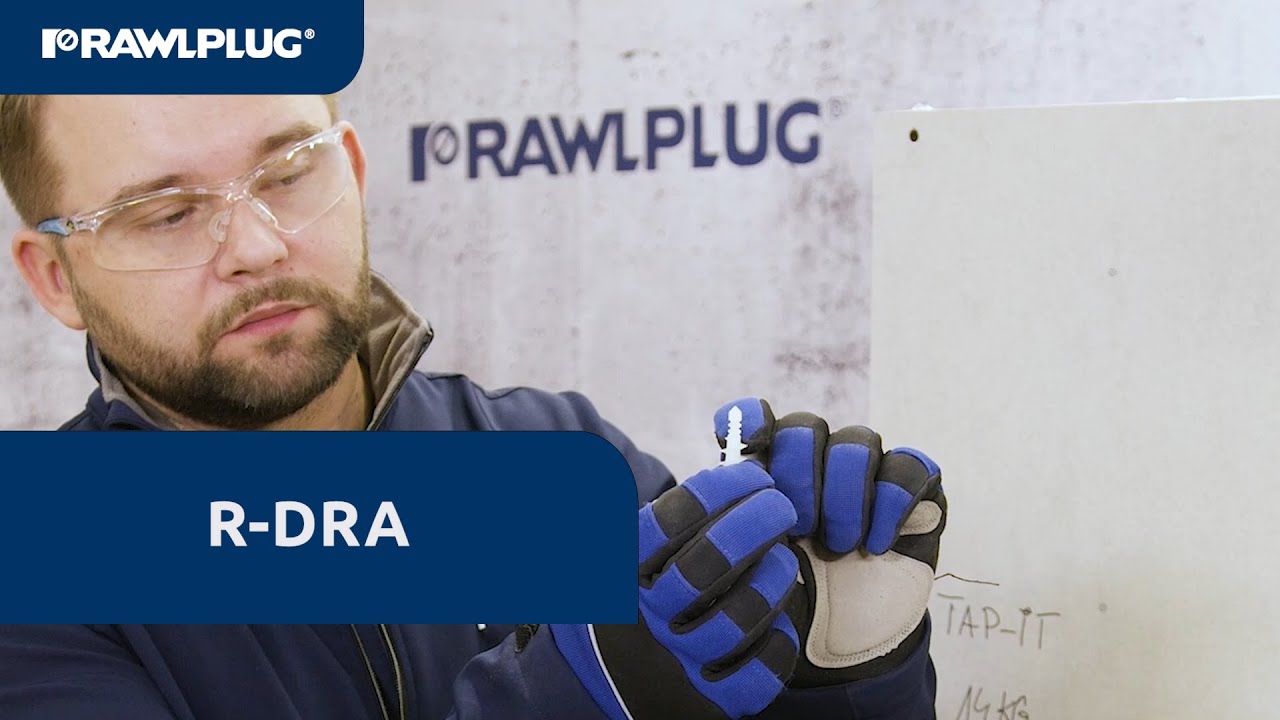
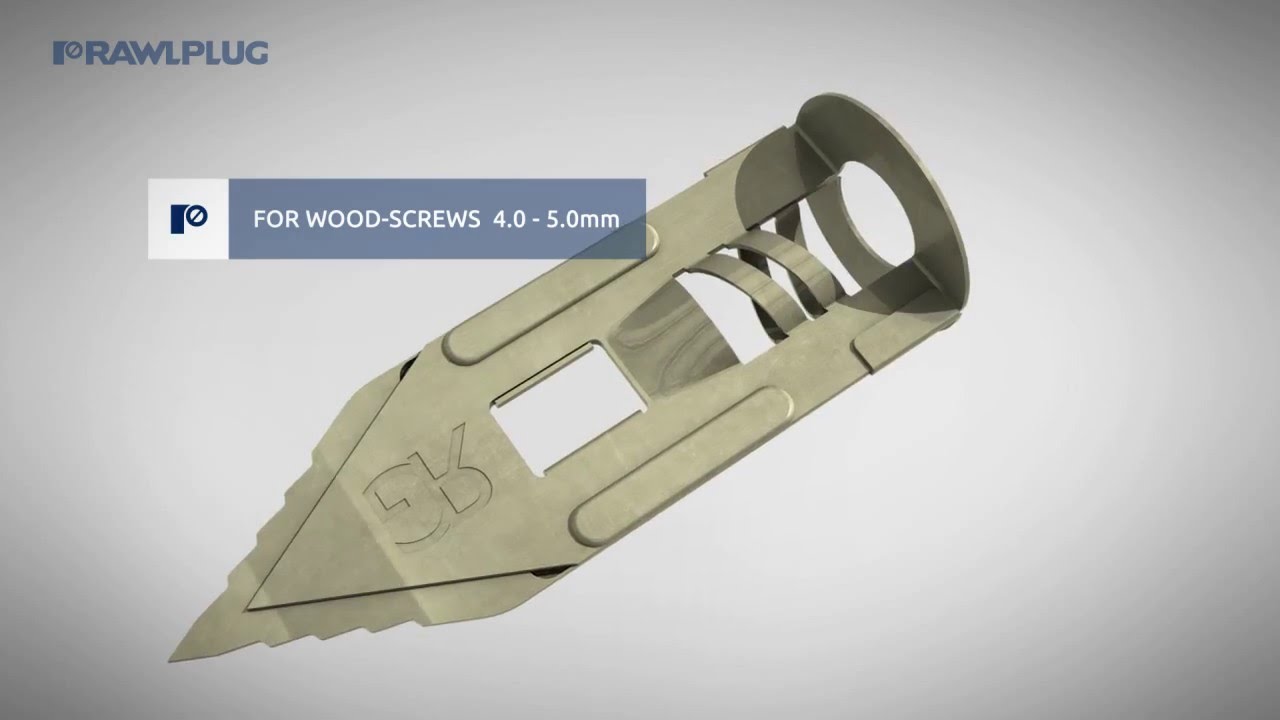
- The DRA self-drilling fixing comes in two variants made of nylon or metal. The latter is actually suitable not only for drywall applications, but can also be used in wood-based substrates (OSB, chipboard).
The DRA fixings feature an auger thread that bites into the plasterboard while being driven in. Additionally, these fixings are terminated with a spiral tip, resembling that of a drill bit, which makes them significantly easier to install with a manual or power screwdriver, without using a drill.
The DRA fixing is suitable for installing electrical components, bathroom shelves and accessories, ceiling light fixtures, brackets, pictures, or skirting boards.
Watch how to handle the DRA self-drilling fixing [video tutorial]:
- The UNO fixing, being Rawlplug’s flagship product, is designed not only for plasterboard, but also for solid and hollow substrates. It is made of polyethylene, and thanks to its unique design, it starts to expand right after the screw driving operation begins. This feature make the UNO perfectly effective even when anchored in hollow substrates or worn-out holes.
- TAP-IT hammer-in fixing – perfect for quick installation of lightweight fixtures (e.g. paintings or towel hangers). It consists of two components: a metal piece hammered into the wall and a screw. While being driven, the screw splits metal leaves aside to achieve a robust fixing effect. The TAP-IT is installed using a hammer and a screwdriver, which speeds up your work considerably. You no longer need to have a drill at hand or worry about the mess caused by the installation. On top of that, the TAP-IT can be easily removed from the wall to stop the hole without damaging the panel.
Have a look at the TAP-IT fixing video tutorial:
Heavy-duty plasterboard fixings
Another group of fixings designed for drywall applications comprises solutions capable of transferring the load to the plasterboard surface, which makes their load bearing capacity much higher. They include the following solutions.
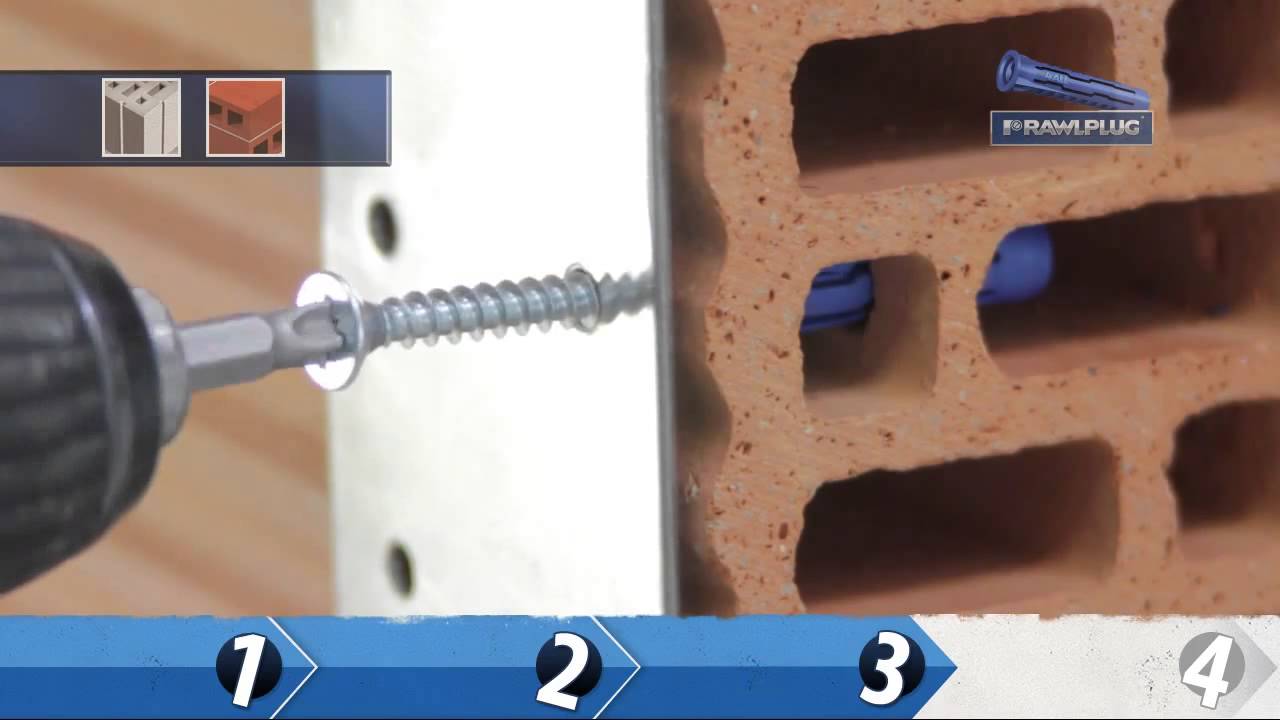
- 4ALL universal plug – a universal fixing solution for multiple applications, intended for solid substrates, masonry as well as plasterboard. The 4ALL is made of polyamide – a very flexible material which, when combined with the unique sleeve design, ensures maximised contact surface between the plug and the substrate once the screw has been driven in (also in hollow materials). The 4ALL can be used with various types of screws, including metric.
Here you can find the 4ALL plug video tutorial:
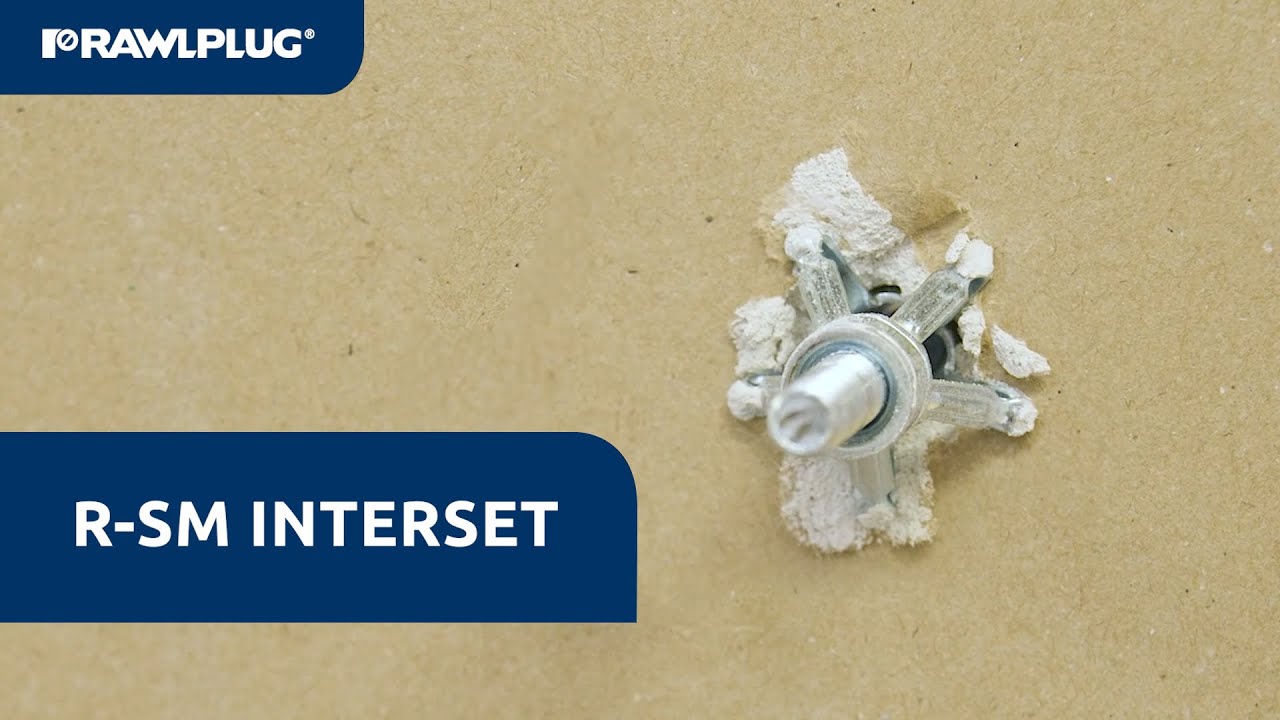
- INTERSET fixing – made entirely of metal. The inner sleeve features a metric thread and it comes with a matching bolt, which makes it suitable for anchoring directly in walls without having to use special-purpose tools. There are four wings on the sleeve which – while spreading apart during installation – form a clamping cone, ensuring stability and high load capacity of the fixing.
Watch the INTERSET fixing video tutorial here:
How to install plasterboard fixings?
There are different ways to install fixings in plasterboard depending on the type of fixing one has chosen. A huge advantage of self-drilling fixings is that they can be driven in without drilling which obviously produces dirt and dust. On the other hand, conventional anchors, although requiring a drill, offer higher load capacities.
Fixing in plasterboard without drilling
The fastest and most convenient solution intended for drywall applications in Rawlplug’s portfolio is the TAP-IT hammer-in fixing. It is installed in the following steps:
- mark the spot where you intend to set the fixing,
- hammer the metal fixing sleeve in,
- use a screwdriver to tighten the screw along with the fixture to mount.
The TAP-IT fixing has been designed specifically for mounting clocks, towel hangers, hooks, and lightweight shelves.
The DRA self-drilling fixings are just as quick to install:
- start by marking the spot where you intend to set the fixing,
- use a power or manual screwdriver to set the fixing at the right depth,
- attach the fixture and tighten the screw.
The design of the DRA fixing allows you to stop worrying about accidentally setting the sleeve too deep in the drywall during installation. However, when working in plasterboard, you should always act with caution and never apply excessive force on the substrate.
INTERSET fixing installation guide
This Rawlplug fixing can be installed in two ways: using a screwdriver or special pliers.
In the first case, proceed as follows:
- drill a hole to a diameter matching the diameter of the fixing,
- insert the fixing sleeve into the hole and tap it lightly with a hammer to make the anti-rotation fins come flush with the substrate,
- use a screwdriver to tighten the bolt attached to the fixing to make its body expand and complete the anchorage in the substrate. In this step, instead of a screwdriver, you can use a special setting tool to expand the fixing body at the back of the plasterboard panel and produce the desired pressure.
Artykuły powiązane
13 May 2024
#FixingsHow to choose the right plug for your substrate
13 May 2024
Best-in-class timber construction screws – discover Procut
25 August 2023
#FacadesHow to perform effective installation of facade thermal insulation materials?
24 August 2023
#FixingsHammer-in facade fixings R-TFIX-8M in new length variants